A Plant's Grow Location tells team members where a given Plant is physically located, as well as its current Plant Status (Plant, Harvest, or End of Life). In addition, it tells the KLĒR THC system how to treat that Plant, depending on its designated Plant Status. For example, if it has a status of "Harvest," it will no longer appear on the Plant inventory list. As a Plant moves through the process from seed to sale, it may need to change Grow Location several times in order to ensure that its information is always accurate. You can change the Grow Location either as an entire Grow Batch, or one Plant at a time.
Change Grow Location for a Grow Batch
If all of the Plants in a given Grow Batch need to move to the same new Grow Location, you can change Grow Location for an entire Grow Batch to save time. To change the Grow Location for a Grow Batch, follow the steps below:
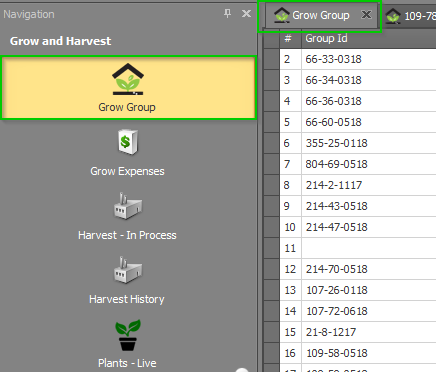
- Step 1 - Within the Grow and Harvest module, select the Grow Batch section to view a list of all of your Grow Batchs. Then, double-click your desired Grow Batch to change its Grow Location.
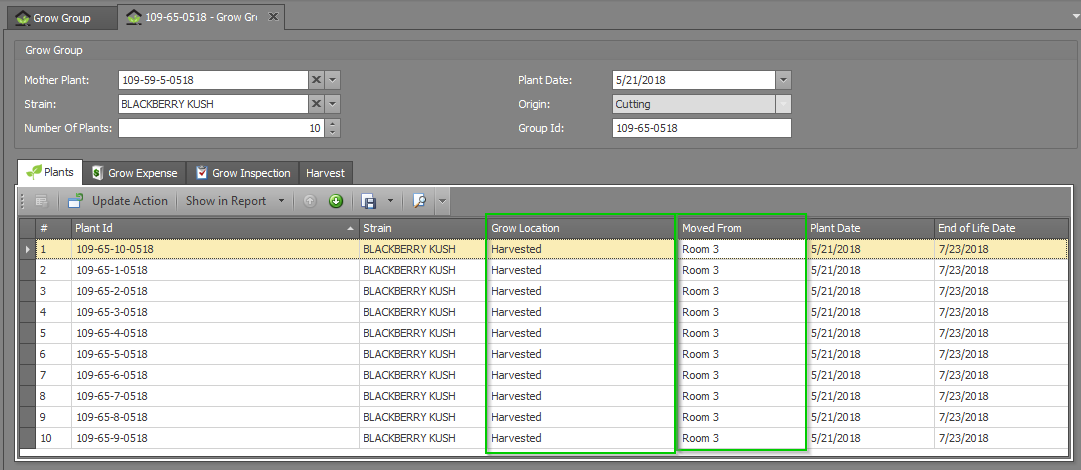
- Step 2 - Once you open the desired Grow Batch, you will see the current Grow Location of each Plant. From the top ribbon, select the Move Plants options. Select the new location of your Plants. Select the Checkbox of the Room or Rooms where the plants you want to move are currently located. If you want to move all Plants to the new room, select all listed rooms.

- Step 3 - Click Save.


- Step 4 - Upon saving your change, check the Plants sub-tab to view the updated Grow Locations for the Plants in this Batch. You should see that the Grow Location column now reflects the new Grow Location and the Moved From column reflects the last previous Grow Location. Your Grow Location has been changed for this Grow Batch!

Change Grow Location for a Plant
Sometimes you may need to just change a single Plant's location. To change the Grow Location for a Plant, follow the steps below:
- Step 1 - From the Grow and Harvest Module, select the Plants-Live section to view a list of all of your Plants. You can filter or order this list to find the Plant you're looking for and then double-click on the desired Plant. You can also search for the plant in the top navigation bar.
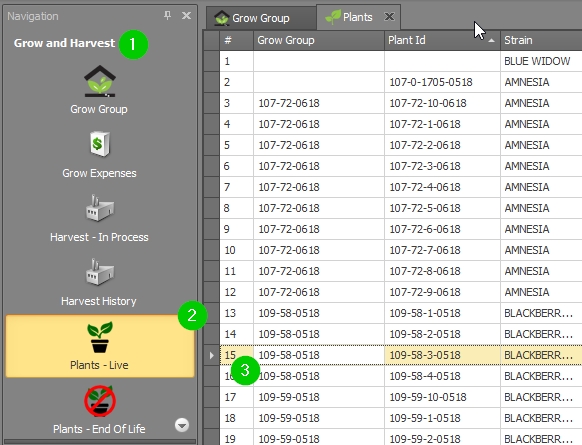

You can also double click on an individual Plant in the Grow Batch to view and edit the Plant detail window.
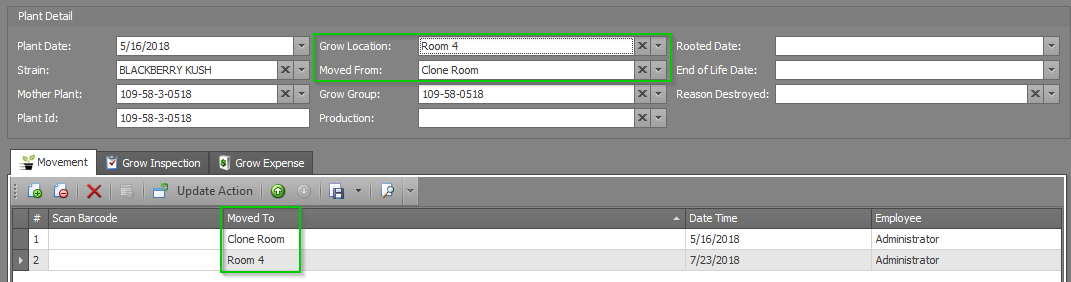
- Step 2 - Once you've opened the Plant detail window for the Plant that needs to change Grow Locations, you will see the current Grow Location listed in the Grow Location field.
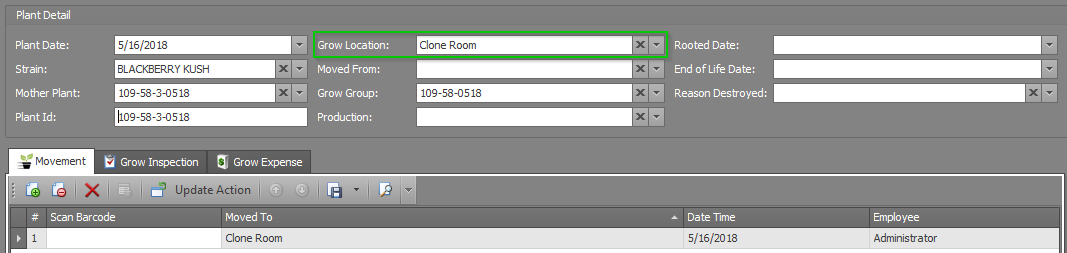
- Step 3 - Select the desired new Grow Location from the Grow Location field's drop-down.
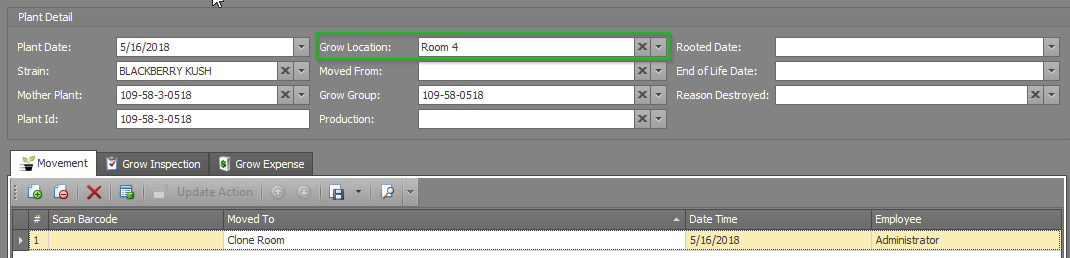
- Step 4 - Click Save.

- Step 5 - You will see that the Moved From field has been updated to reflect the last previous Grow Location and a new Movement has been logged on the Movements sub-tab to document this change in Grow Location. You've successfully changed your Plant's Grow Location!