When Plants can no longer be used, you need a way to record all the gory details of their destruction. KLĒR THC makes it easy to preserve the history of your discarded Plants while also removing them from your day-to-day workflows. This article details the two ways you can discard or destroy a Plant.
Add an End of Life Date
If you just have one or two Plants to discard or destroy, you might just opt for manually entering an End of Life Date for each. The act of doing so will assign these plants a Plant Status of "End of Life" and therefore remove them from your day-to-day views.
To add an End of Life Date for a Plant, follow the steps below:
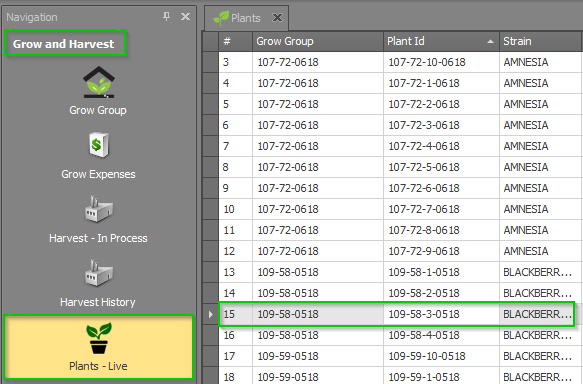
- Step 1 - Under the Grow and Harvest Module, click the Plants - Live drop-down heading. Then, double-click on the Plant you want to discard or destroy to view the Plant Detail view for that Plant.
- Step 2 - On the Plant Detail page, select the date the Plant was discarded or destroyed from the End of Life Date field and select a reason or create a new reason from the Reason Destroyed field. You can also change the Grow Location of the plant from this screen.
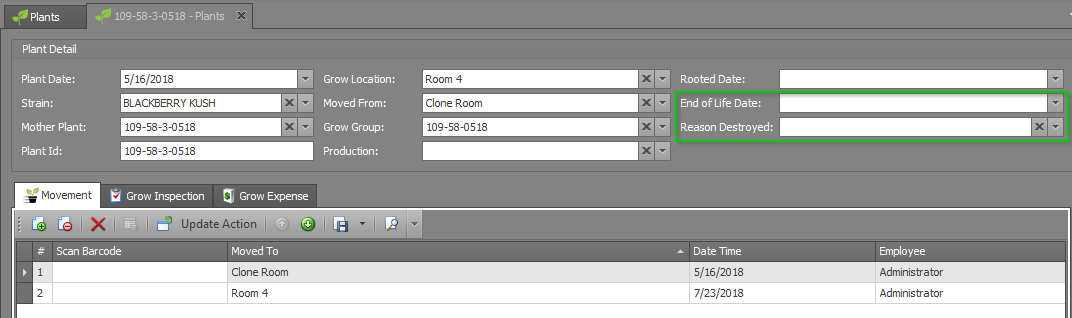
- Step 3 - Click Save or Save and Close.


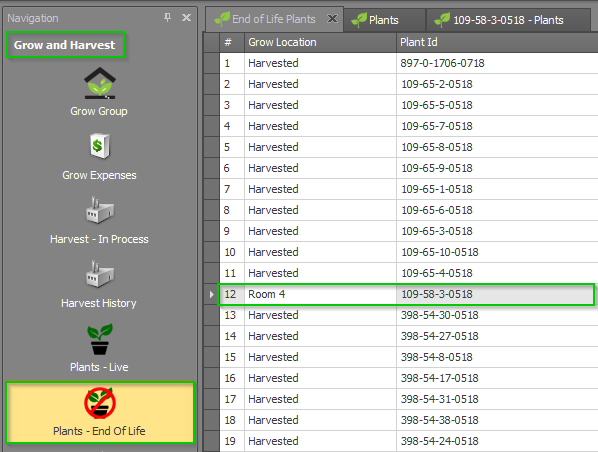
- Step 4 - Verify that this Plant no longer appears on the list of Plants but does appear on the Plants - End of Life list under the Grow and Harvest Module drop-down.

Move a Grow Batch to an End of Life Grow Location
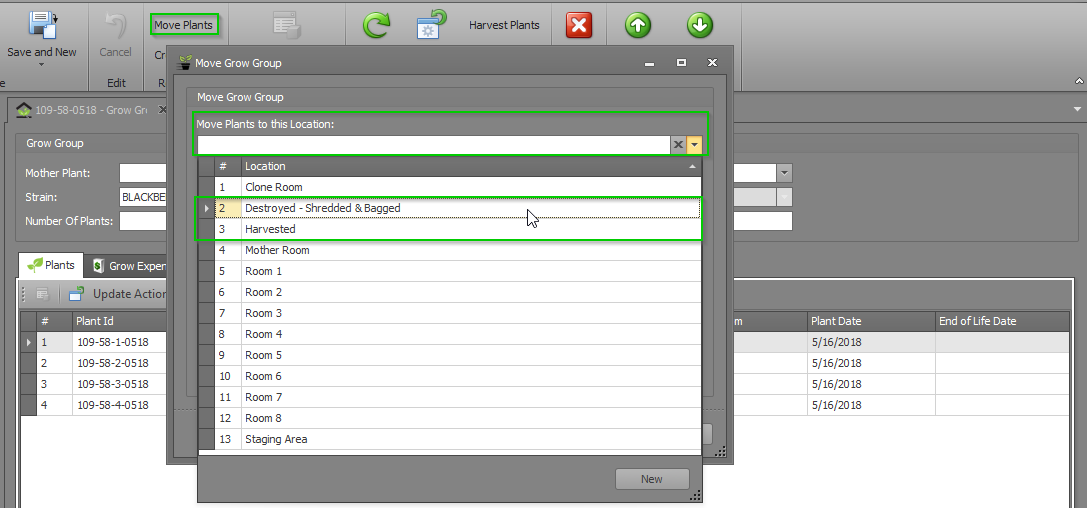
If you're discarding/destroying a whole Grow Batch at once, it may make more sense to move those Plants to a new Grow Location that is designated as an "End of Life" Stock Location. Not only will this update the Grow Location field so that you have an accurate location for those Plants, but it will also automatically assign an End of Life Date for the Plants as soon as you make that move.
To discard or destroy the Plants in a Grow Batch by moving them to an End of Life Grow Location, follow the steps below:
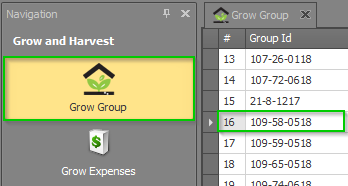
- Step 1 - From within the Grow & Harvest Module under the Grow Batch section, select the Grow Batch you want to destroy or discard.
- Step 2 - From the Grow Batch detail window for your chosen Grow Batch, move the entire Batch to the Grow Location that has been designated as "End of Life". (For more information on how to designate a Grow Location, see our article on Configuring Stock Locations).
- Step 3 - Click the Save or Save and Close button in the top ribbon.

- Step 4 - You will see that the End of Life Date field has been updated with today's date for each of the Plants in the Plants sub-tab. This means that they will no longer appear on your inventory lists. You've destroyed those Plants!


