Before you can purchase an Inventory Product from a Vendor, you need to add that Vendor to the KLĒR THC system.  This article walks you through the steps for adding and editing Vendor information.
Add a Vendor
To add a Vendor, follow the steps below:
- Step 1 - While in the Purchasing module select Vendors in the navigation pane and click the New button. This will open up a new Vendor detail window.
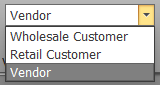
- Step 2 - Check that Vendor is selected in the top navigation pull-down.
- Step 3 - Fill in the following Vendor information:
- Company - The name of the company that will become a Vendor.
- DBA - Use this field if the company is "Doing Business As" another identify.
- MMJ License - The unique MMJ License number for this Vendor.
- MMJ Expiration - The expiration date for the MMJ License for this Vendor.
- Tax ID - Enter the Tax ID number for this Vendor, this is optional.
- Contact Type - Ensure you have selected Vendor as your contact type.


- Step 4 - Fill in the Contact Details for the Vendor.
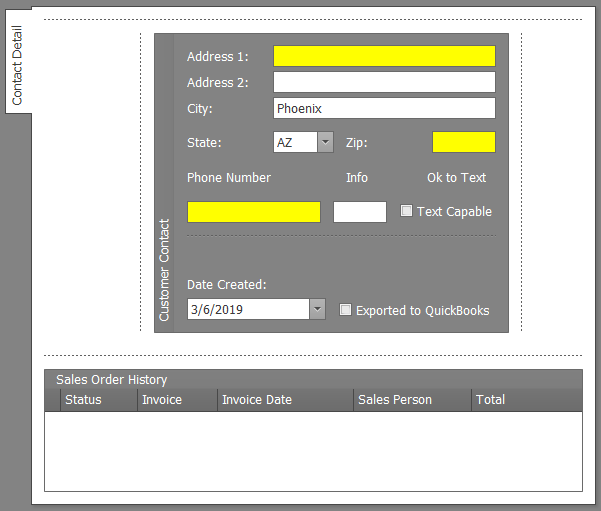
- Address 1/2 - The street address for this Vendor. The second line is for adding Suite or Unit #.
- City/State/Zip - The city/state/zip portions of the Vendor's address.
- Phone Number - The phone number for the Vendor. This is for the business, specific contact info will be recorded in the Order Contact Info section.
- Info - Use this field if there is an extension for the phone number.
- Ok to Text / Text Capable - Mark this box if the phone number is able to receive text messages.
- Date Created - This field will auto-populate with the date the Vendor was created.
- Exported to QuickBooks - If you have integrated QuickBooks with KLĒR THC, check this box to have this Vendor added to QuickBooks.
- Sales Order History - As purchases are made from this vendor, they will automatically populate in the Sales Order History field. You can easy access all invoices from this area.

- Step 5 - Fill in the Order Contact Info.
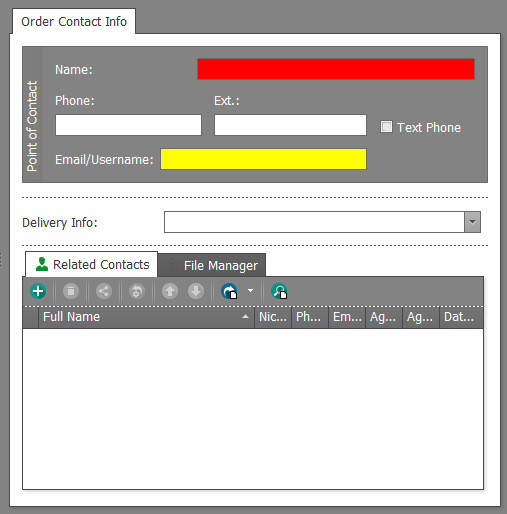
- Name - The name of the specific contact person for this Vendor.
- Phone /Ext. / Text Phone - The phone number, extension, and texting availability for the contact person for this Vendor.
- Email/Username - Email address for the Vendor or Username to login to their online ordering.
- Delivery Info - Create specific delivery notes for this Vendor, such as "Delivered on Tuesdays."
- Related Contacts - If there is a contact already created for a Customer related to this Vendor, you can link them together here.
- File Manager - Upload any relevant documents using this tab.

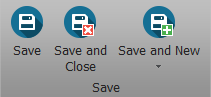
- Step 6 - Click Save or Save and Close.

Edit a Vendor
To edit an existing Vendor, follow the steps below:
- Step 1 - From the Purchasing module in the Navigation pane, select the Vendors section and select the desired Vendor from the list that appears. This will open up that Vendor's detail window.
- Step 2 - Make your necessary edits to the relevant fields.
- Step 3 - Click Save or Save and Close.
Congrats! You've created and edited a new Vendor in KLĒR THC, so you can purchase Inventory Products from them!