When you ring up a Retail Customer, you want to be sure you've done things properly every step of the way. This article will walk you through everything you need to do to when ringing up a retail purchase.
To ring up a retail customer, follow the steps below:
- Step 1 - While in the Retail module select Sales Queue in the navigation pane and click the New button. This will open up a new retail order window.
- Step 2 - Scan the customer's ID card or select the customer from the Patient (Retail Customer) field. The customer's Nickname, Date Of Birth and Phone will appear in the appropriate fields and the Swipe ID field will disappear. A notification will appear if the customer has an expired card that needs to be updated. You must update Customer Information before beginning the sale. If the customer is new, you will need to Add a New Customer before you begin the sale. The budtender field auto-populate with the logged-in KLĒR user once the order has been saved.


- Step 3 - This is an optional step, depending on state compliance. Offer the customer the required educational materials and mark whether they "Accepted" or "Declined" in the Educational Materials field. This is also where compliance amounts can be tracked for input into a state system.
- Step 4 - Add products to the sales order.
- If products are being scanned, click into the Barcode field and begin scanning products. They will be added to the order automatically in the proper quantities. Be sure to scan each item to ensure you are pulling items from the inventory correctly.

- If adding products manually, begin typing the product's Inventory Package number into the barcode field. Hit enter and the product will appear in the product field. Adjust the desired quantity in the Qty field for each product. Double check for each product that the correct inventory package number is used to keep your inventory accurate.
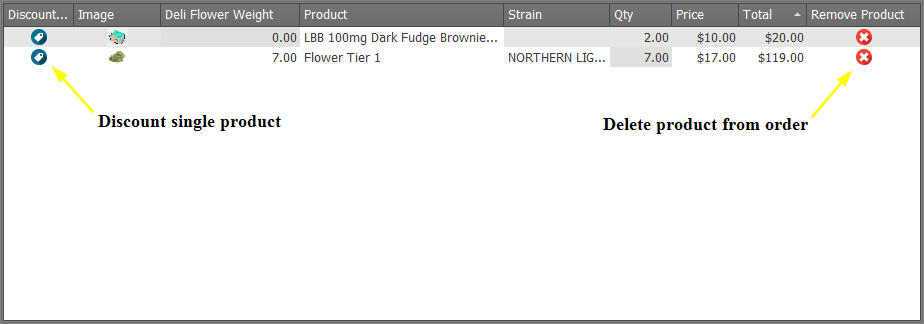
- Discounts can also be added manually by clicking the Discount icon. A popup will appear that allows you set a discount on that product only. If a product is accidentally scanned or added, it can be removed with the Remove Product icon.
- If products are being scanned, click into the Barcode field and begin scanning products. They will be added to the order automatically in the proper quantities. Be sure to scan each item to ensure you are pulling items from the inventory correctly.


- Step 5 - The total amount owed by the customer and all discounts associated with that customer will automatically appear below the scanned products. The Rewards Discount field can be adjusted to use the funds shown in the Reward Available field. However if no rewards are available for this customer, the Rewards Discount will return to zero upon saving.


- Step 6 - Now it's time to collect the payment! The Total field will remain red until the entire balance is paid. To start this process, click the Pay button
 next to total. In the pop-up window, select the method of payment from the Payment Type field and enter the amount you collected from the customer in the Tendered field. The change to be given to the customer will appear in the Change field when you click off the tendered field. Click OK and then Yes to verify you want to save the payment.
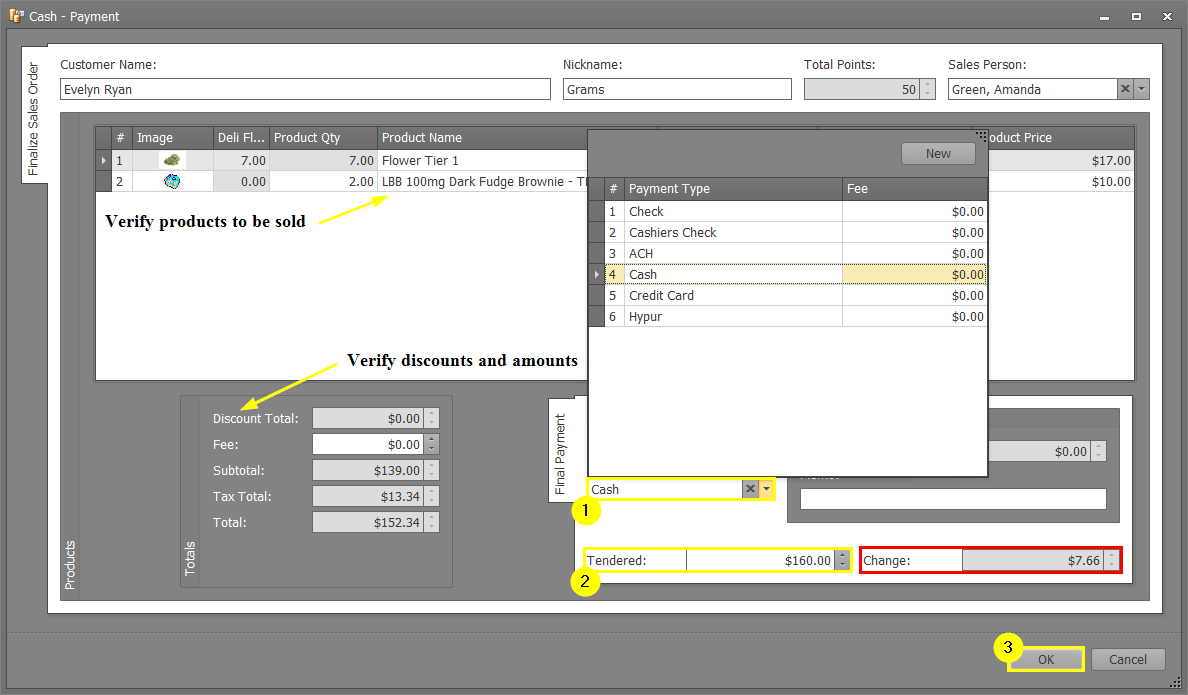
 next to total. In the pop-up window, select the method of payment from the Payment Type field and enter the amount you collected from the customer in the Tendered field. The change to be given to the customer will appear in the Change field when you click off the tendered field. Click OK and then Yes to verify you want to save the payment.

- Step 7 - Once everything is paid, a prompt will appear to print a customer receipt and necessary product labels. Be sure to include these with the customer's purchase.
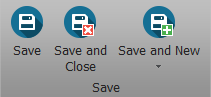
- Step 8 - Choose one of the Save options.

Success! You've got a happy customer with product and receipt in hand, as well as an accurate record of everything about the sale.