As an administrator, you will be able to add employees to KLĒR. This article will walk you through the steps for adding a new employee, activating the employee and assigning roles to the employee.
To add an employee, follow the steps below:
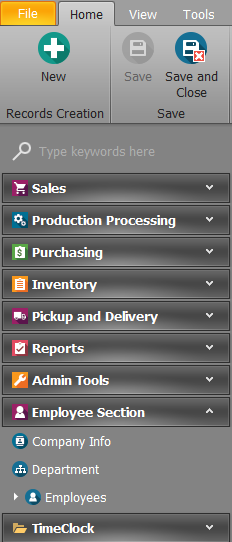
- Step 1 - From the Employee Section module in the Navigation pane, select the Employees section. Then click the New button to begin adding a new employee.
- Step 2 - Fill in the employee data for each of the fields below:
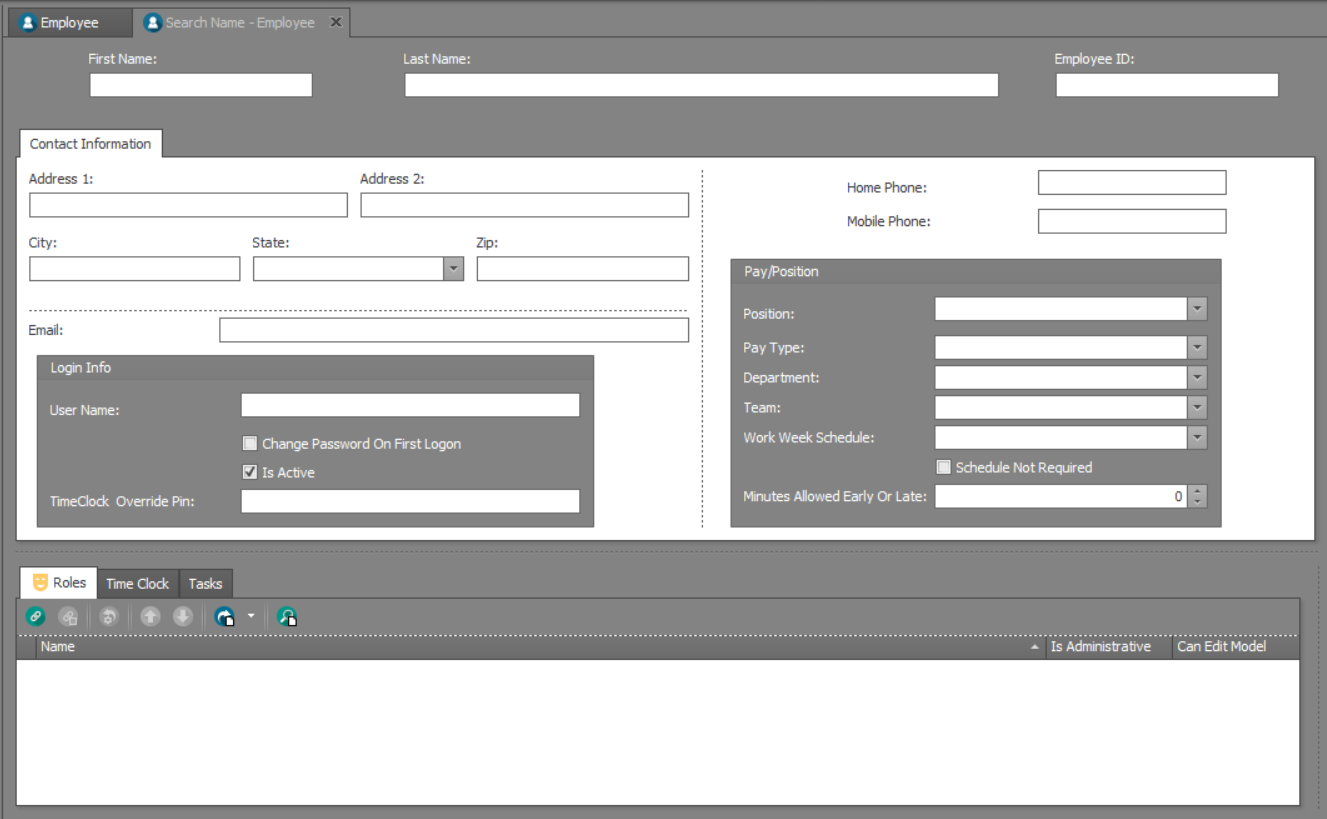
- Basic Employee Data
- First Name - the employee's first name
- Last Name - the employee's last name
- Employee ID -an employee's own specific identification number (optional - If this is your first employee or you want to begin implementing Employee IDs, see the Setting up Employee ID article.)
- Contact Information
- Email - the employee's email address
- Home Phone - the employee's home phone number
- Mobile Phone - the employee's mobile phone number
- Address - the employee's home address
- Login Info
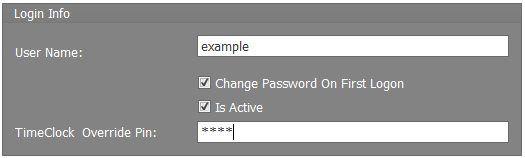
- User Name - the unique username that will be displayed and recorded in KLĒR anytime the user performs an action
- Change Password On First Login - check this box if you want to force your new user to change their password upon logging in (recommended)
- Is Active - check this box if you want the newly-added user to be able to log in now (If you leave it unchecked, the user will not be able to log in until you check it.)
- Sales Override Password - the unique password assigned to this user that allows them to override price and discounts at the point of sale
- Pay/Position
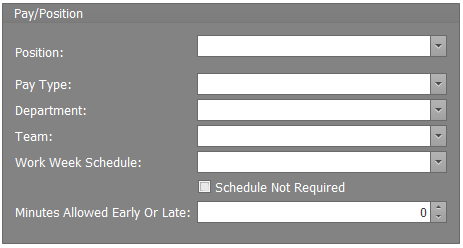
- Position - the employee's job title (this is the only required field in this section)
- Pay Type - choose whether the employee is an hourly or salary employee
- Department - the department the employee belongs
- Team - if you have multiple groups or teams you can assign each employee to a team (optional)
- Work Week Schedule - choose from a list of pre-configured schedules
- Schedule Not Required checkbox - check this box if the employee will not need a weekly schedule in time tracker
- Minutes Allowed Early or Late - the number of minutes early or late that your organization will allow the employee to clock in or out
- Basic Employee Data


- Step 3 - Next, you'll need to assign one or more roles to the new user. To do this, click on the Roles sub-tab, and then click the New button. In the pop-up window, select the desired role and click the OK button. You can repeat this for as many additional roles as are needed. When allowing multiple roles, all open permissions will be assigned to that employee for each role that is selected. For example if one role allows edits to a purchase order but the other does not, the employee will be assigned editing capabilities.

- Step 4 - You can also view and edit records of employee actions in the Time Clock, upload employee Certifications, and assign employee Tasks using the additional sub-tabs. Use the Managing Employees article to read more about using these sub-tabs.
- Step 5 - Click one of the Save options.

You've done it...you've created a new employee account!